- Available for players Lv70 and above
- Refreshes on Mon and Thu
- Can hit 4x for free, and 2x with gems
TLDR:
- Don’t let your Mirage Trials cap past 50 chances, use them and clear the highest stages you can asap
- Try to hit 24 points on Bounty Missions to get the Rainbow stone; get 16 points at the very least
- Gacha at Supply Depot/Exchange for mats (either during rate-up or adhoc up to you)
- Level up Emblems
- Profit???
- Buying packs (cash/gems) are up to you, depends on your financial situation/gems situation
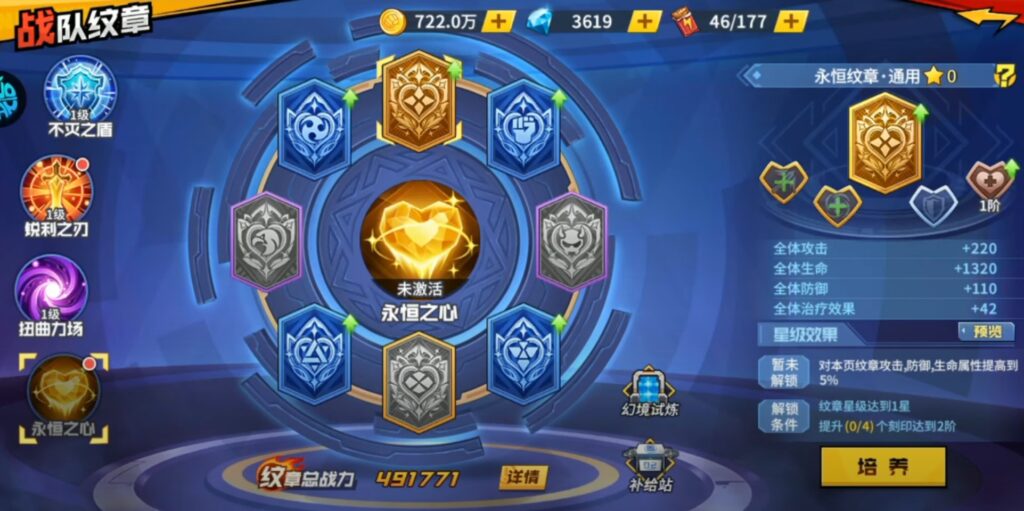
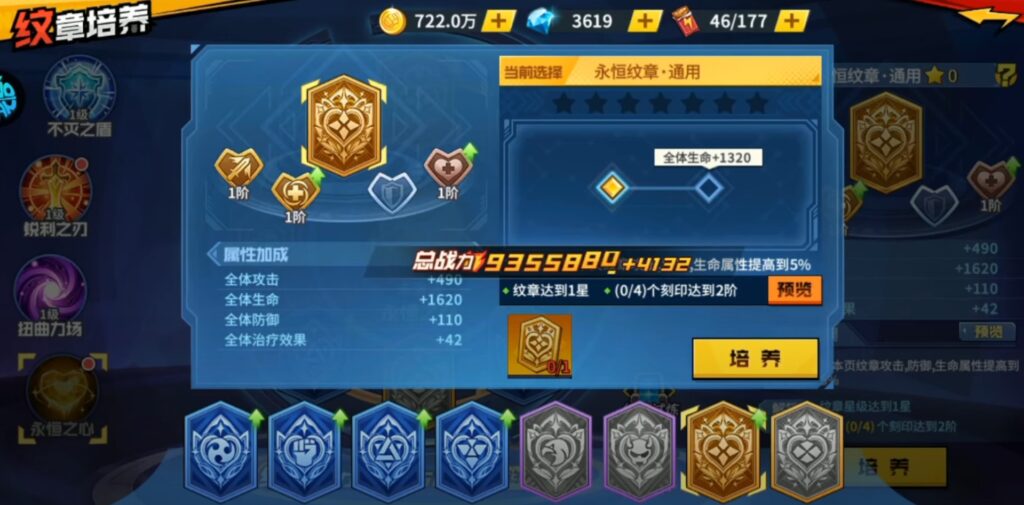
Emblem Types
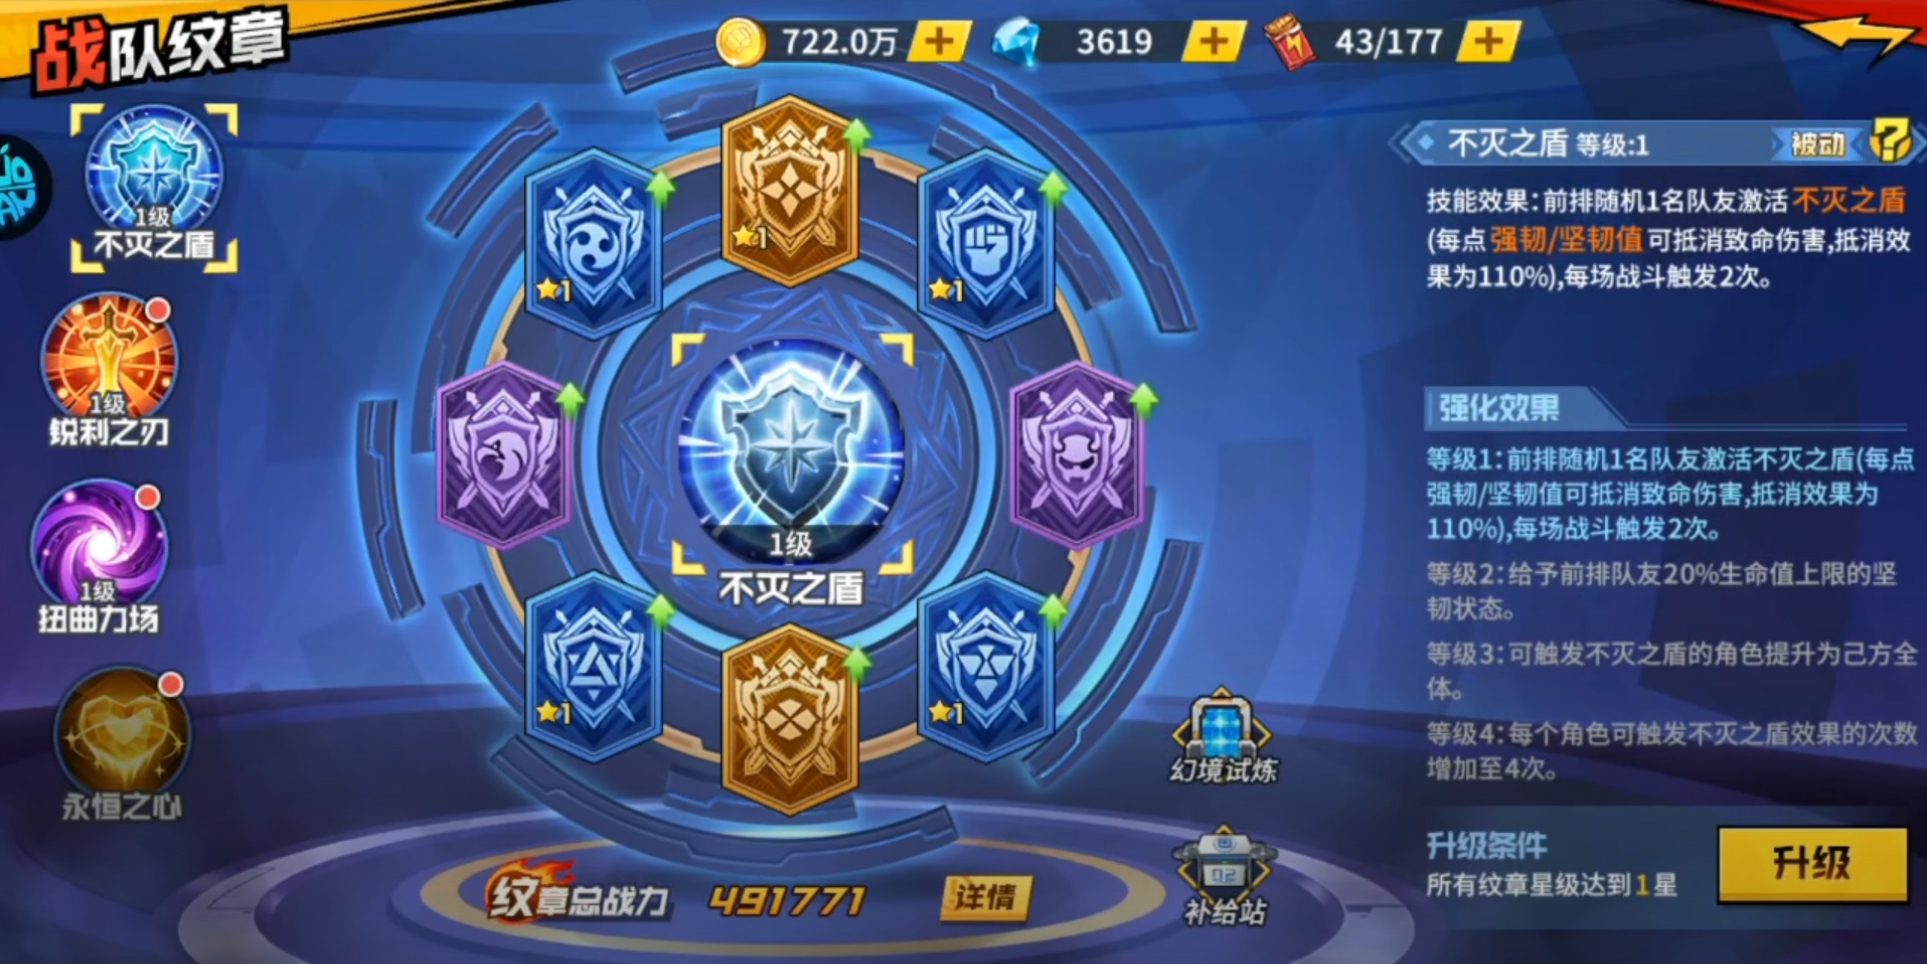
Undying Shield Emblem
- Lv1: Grants Undying shield to 1 random unit in front row, 2x per battle
- Lv2: Grants 20% Tenacity for front row (stacks with Lv1)
- Lv3: Grants Undying shield to all units, 2x per battle (stacks with Lv2)
- Lv4: Grants Undying shield to all units, 4x per battle (stacks with Lv2)
*NOTE: This doesn’t give your units unyielding. It gives your shields undying, hence the name Undying Shield. For the emblem to take effect you need to have a shield, so assuming Lv1 emblem, if your front row doesn’t have any shields then it’s not going to do anything at all.
You can generate your own shields (eg TTM, SF, etc) and that will work too, but take note for Lv1 it has to be front row.
For Lv2 the issue solves itself since you get free 20% shields to front row.
Lastly, the effect means the unit with emblem (you can see which unit got it at the start – those selected with the purple word Emblem) that has a shield, will not take fatal damage, aka will not get 1-hit KO.
Sharp Blade Emblem
- Lv1: Grants 5% ATK to all units
- Lv2: Grants 3% CRIT to all units (stacks with above)
- Lv3: Grants 5% ATK to all units (stacks with above)
- Lv4: Grants 8% CRIT DMG to all units (stacks with above)
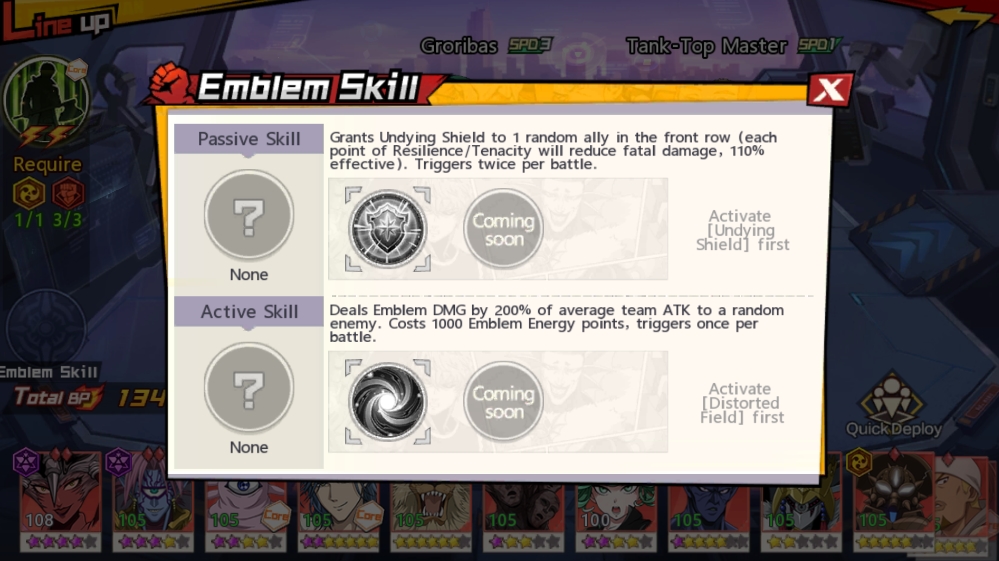
Distorted Field Emblem
- Lv1: Randomly attack enemy 1x per battle, Deals 200% of average team ATK (uses 1000 charge points)
- Lv2: Emblem dmg have 50% CRIT chance
- Lv3: Randomly attack 4 enemies 1x per battle (stacks with Lv2)
- Lv4: Randomly attack 4 enemies 2x per battle (stacks with Lv2)
Eternal Heart Emblem
- Lv1: Grants 5% HP to all units
- Lv2: Grants 3% BLOCK to all units (stacks with above)
- Lv3: Grants 5% HP to all units (stacks with above)
- Lv4: Grants 8% BLOCK RATE to all units (stacks with above)
Updated 2 new Emblems from 28 Dec 2023:
Reviving Wind Emblem
- Lv1: At the start of round, Front Row characters receive 100% Max HP Healing. This can trigger once per battle.
- Lv2: Grants Tenacity to Front Row allies equal to 30% of Max HP
- Lv3: Increased Healing Effect targeting to all allies
- Lv4: Healing Effect increased to 150% of Max HP
Piercing Sword Emblem
- Lv1: Deals Emblem DMG equal to 200% of allied average ATK to 3 random enemies, ignoring [Specialized Guard/ Unyielding/ Specialized Unyielding]. Costs 1000 Emblem Energy points and triggers once per battle.
- Lv2: Increased Emblem DMG to 300% of average ATK
- Lv3: Increased Attack targets of Emblem DMG to all enemies
- Lv4: Releases Piercing Sword twice per battle
You can choose 1 Active/Passive type for your lineup, but before you can do that you’ll need to ‘unlock and activate’ the emblem. You have to unlock all 8 emblems (the ones in a circle – 2 gold, 2 purple, 4 blue) before you can unlock the middle one which gives you the Enhancement effect.
Once that’s done, simply select your emblem power at the line-up section, similar to choosing a core.
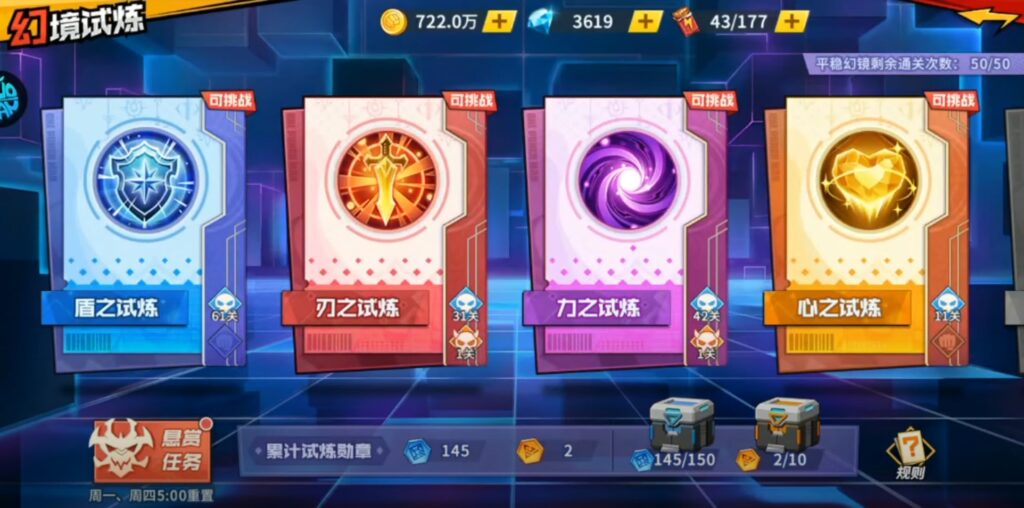
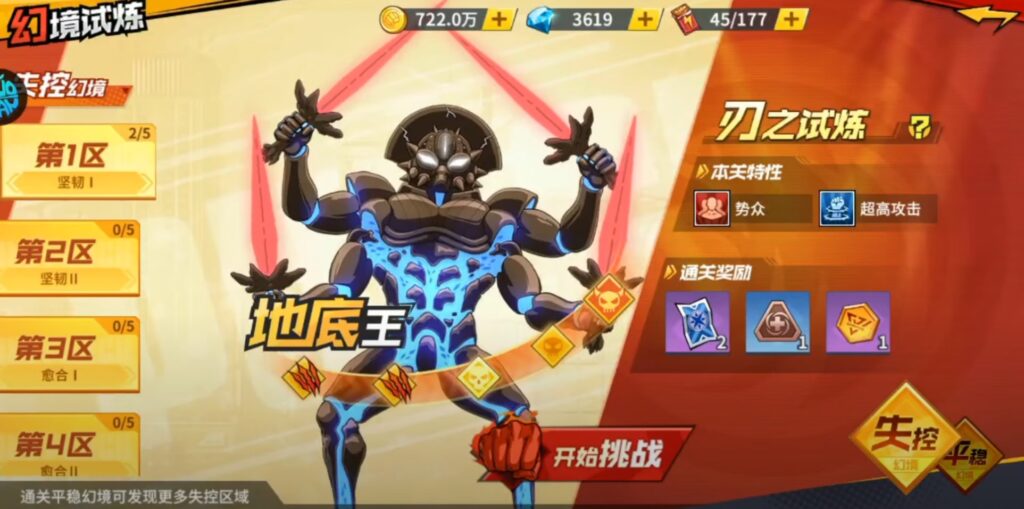
MIRAGE TRIALS
Stable/Wild Trials
At the start you’ll need to select which emblem type you want to focus on (Shield or Sword for now), then start doing the stages there. As to which is better, there’s no right or wrong, it depends on what you want – flat stats or unique perks, both of which might be better for different scenarios.
You can only do the blue basic (stable) stages at the start, then as you go along you will unlock the orange advanced (wild) stages.
You get 6 free chances daily, refreshed at 5AM. They do stack up to 50, so you don’t have to do it everyday, but don’t let it cap past 50 because that’s the cap.
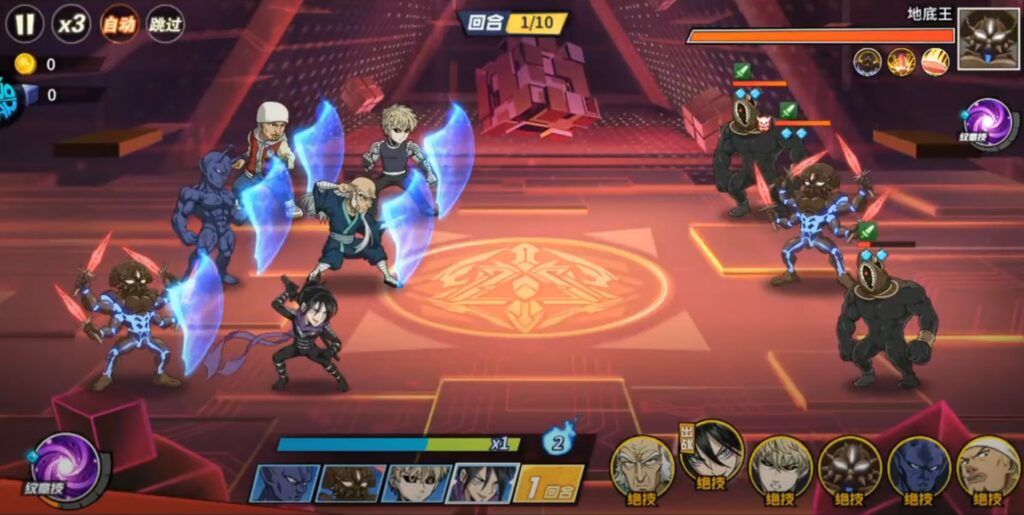
Stable stages – 1 team only. Uses the free chances refreshed daily
Wild stages – deploy 3 teams, harder but better rewards. Doesn’t seem to use any chances, once unlocked can challenge until cleared

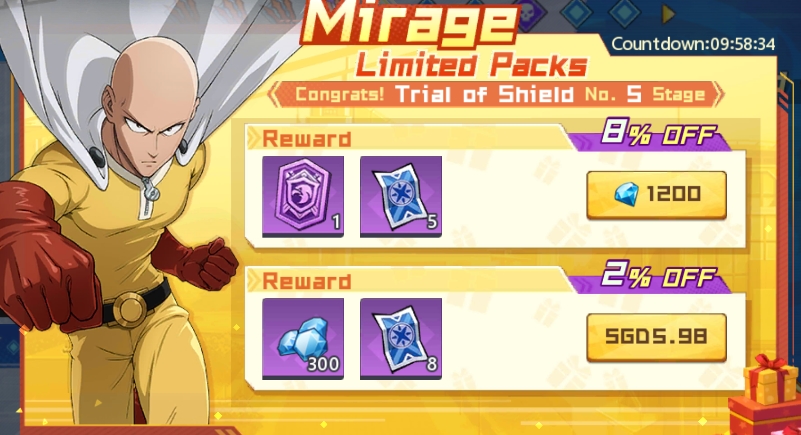
You get time-limited packs at various milestones, similar to the Training Center expeditions, it’s fine to get if you have extra gems, otherwise no rush you’ll get the materials eventually. For small spenders and whales, definitely get them.
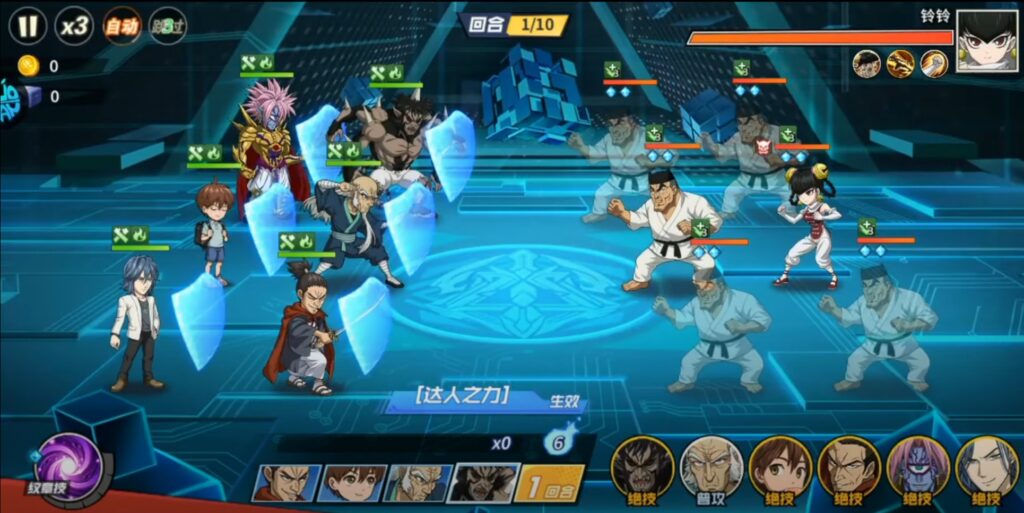
Recommended lineups are 1 tank with 2 DPS (AoE and S.ATK). ATT, RMG etc are all great.
Bounty Missions
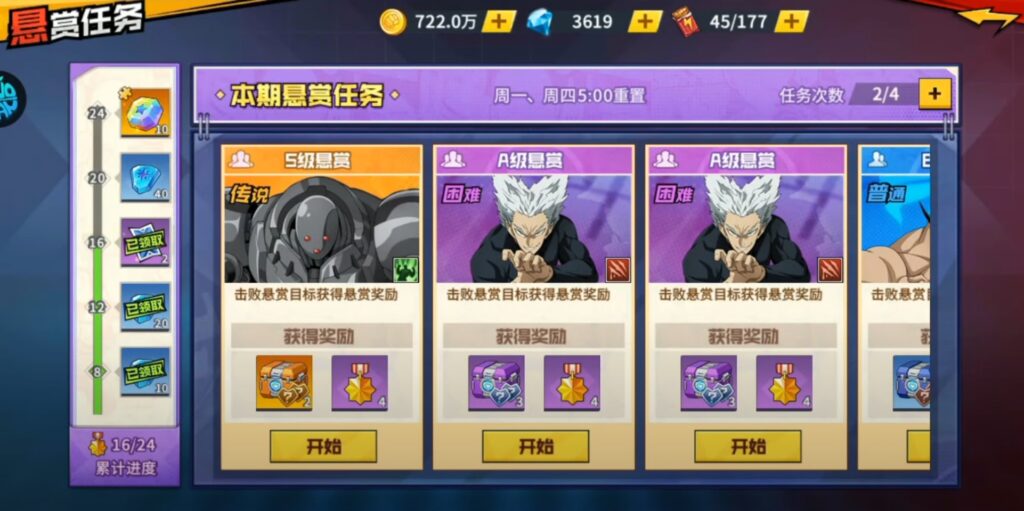
The battle missions (quests) reset at 5AM every Mon and Thu and varies by their difficulty.
- Orange – Legendary
- Purple – Hard
- Blue – Normal
- Green – Easy
All of them grant 4 bounty score so the only difference here is the bounty chest reward. You get 4 free chances each cycle, and you do not waste any chances if you lose, so do feel free to try out the hardest missions first. You can buy 2x chances (100, 200) if you wish to do so – whales should definitely do this.
For F2Ps, it is recommended to use up all 4 chances on the green/blues at the very minimum to get 16 points for the emblem supply tokens.
The true difficulty is based on their ‘perk’, the little icon you see at the bottom right of each boss picture. For example, I could clear an orange quest with ‘Revive’, but couldn’t clear a purple with ‘Shield’ because the shields are so damn tough.
If you’re having trouble, you can try to cheese the win by using stun strats (similar to Institute), like Formal Lightning max/CE/SK etc.
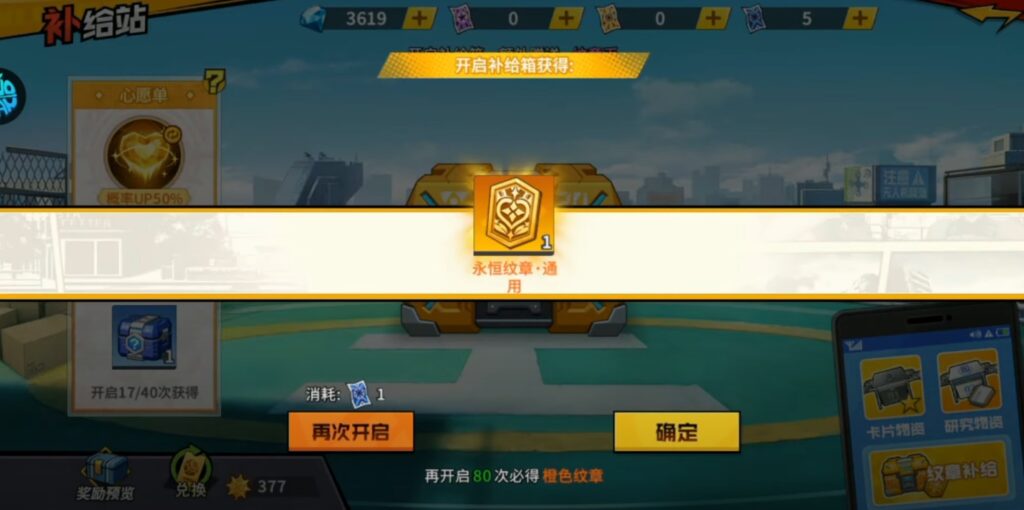
SUPPLY DEPOT
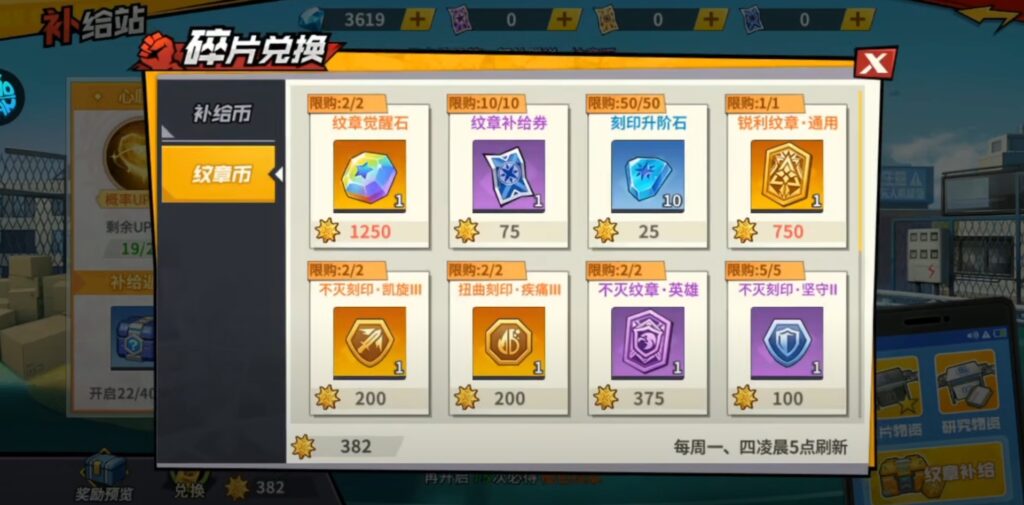
You also get a new ticket and section at supply depot where you can gacha for more materials, and even exchange at the shop.
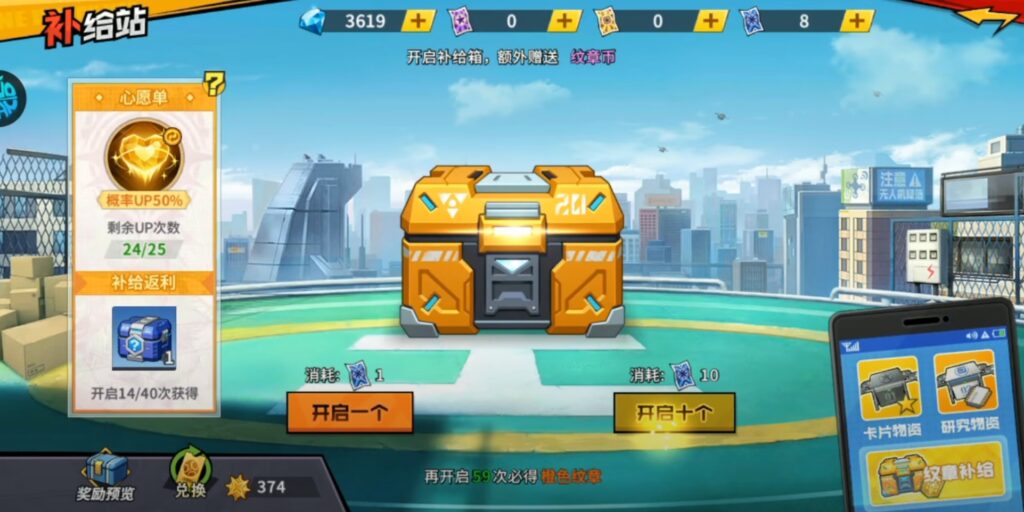
There’s a rate up after every LSSR banner (according to LanceYT) so he advised to save up your tickets to spend then!
TIPS AND TRICKS
- Don’t spend all your marks into one emblem, activate at least one for all the emblems first, then start upgrading
- Blue Emblems – Focus on Esper/Grappler first as the majority of your lineup will be these
- Purple Emblems – Hero / Mons (up to you)
- Golden Emblems – Both is fine
- Progression-wise, you’ll want to focus on getting 1 emblem activated first (Shield or Sword), then once that’s done, focus on the other. Once Shield and Sword are done, then slowly move on to Forcefield and Heart and activate their level 1. Once you have all 4, then you can focus on upgrading the one that’s most useful for you.
- Don’t spend your Emblem Supply Tokens yet, wait for the rate-ups (during LSSR banners there will be a 7day emblem event)
- For Bounty Mission, always try the Orange/Purple missions first since you don’t waste chances if you lose. It’s better than using your 4 chances on blues/green, then spending 100gems to ‘try’ the harder ones
- Shield for more PVP, Sword more for PVE in general
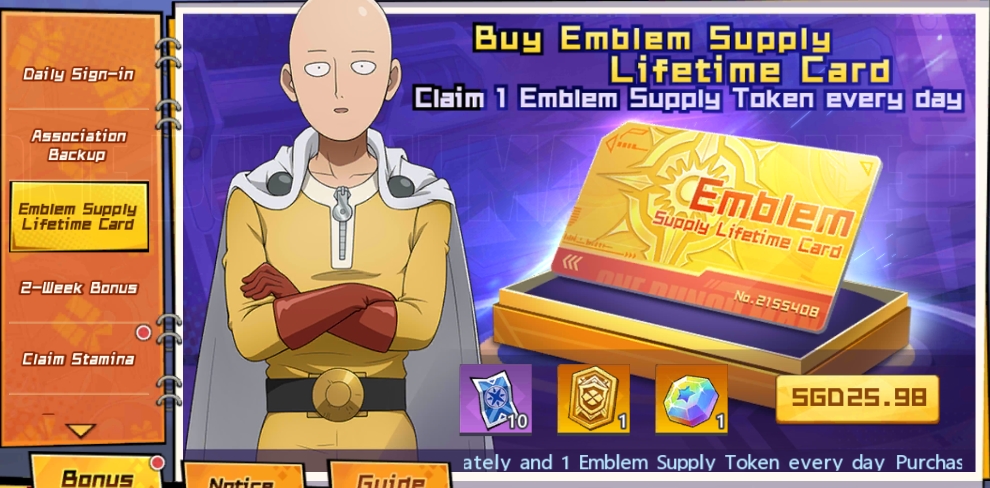
LIFETIME SUPPLY CARD
Lastly, there’s a lifetime emblem supply token pack (under Bonus) where you get some instant rewards at the start, then a free supply token daily for the rest of your life (or OPM’s life). Worth it? Definitely for whales and small spenders. For F2Ps you can skip it, especially if you don’t see yourself playing for a long time!
If you liked this article, do bookmark this site and follow our Twitter for more One Punch Man: The Strongest guides and updates like this! Join our Telegram group for faster updates!